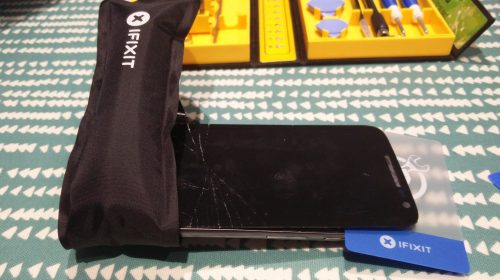
This post as been sitting in drafts for a while so I figured I would get it sorted (all be it rushed). My brother had a Moto G4 Play with a cracked screen. I have replaced a fair few phone and tablet screens in my time so I figured it would be worth a try to get the phone back in action. I purchased the screen from Amazon for about £30 which was not too bad seeing as the phone is still worth about £130 and is a more than capable phone still.
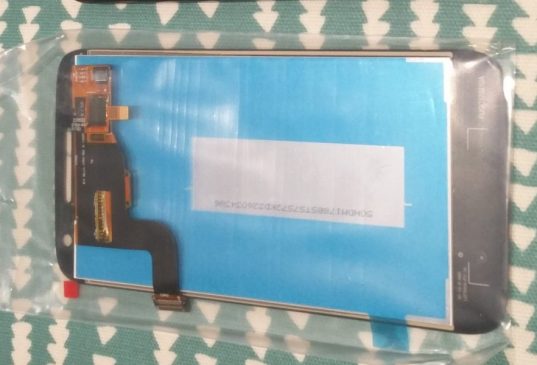
3 days later the xuan for Motorola Moto G4 Play LCD Display Touch Screen Digitizer Assembly Replacement turned up well packaged and looking good quality. My only gripe was the screen did not come with tape pre-installed (something all the iPhone, iPad etc I buy do have).
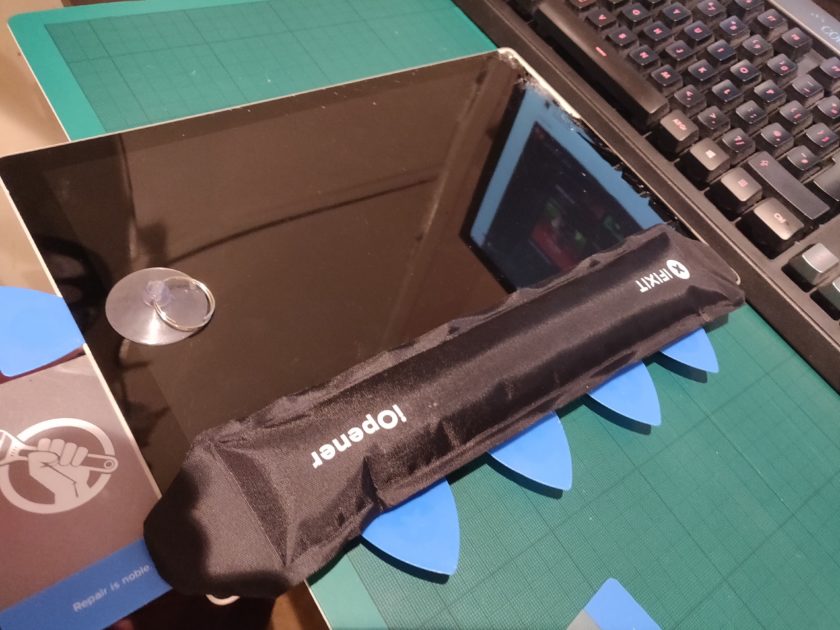
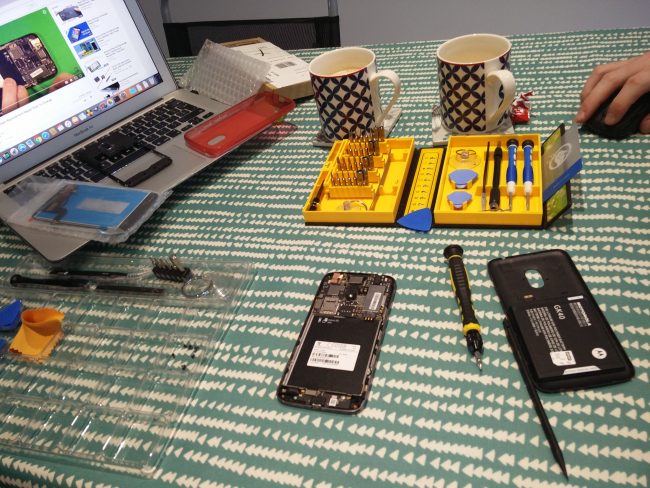
I fixed that with some salvaged tape but I recommend getting some 4mm Double Sided Layer Ultra Strong Adhesive. Also a good tool set would help too, I used a 38 in 1 Precision Screwdriver set. Finally a hair dryer or a Tablet Heater/Opening pack like the iFixit iOpener Kit Repair Tools Kit does a good job.
Basic steps are
- Make tea
- Remove battery cover (nice popping sound)
- Remove battery, Sim and SD card
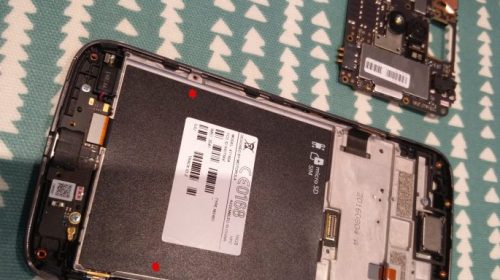
- Remove the 15 Philips screws ( The image with the Red dots at the top of this page show you which 2 screws are longer. they are the ones level with the bottom if the label, the rest are the same length.
- Remove Black tape at bottom right of camera and take out screw
- Remove back plastic shroud
- Disconnect antenna wire on right side of phone, near battery connector, I used my nail
- disconnect two connectors on left side of phone, again using finger nail
- Remove screw to the left of the speaker
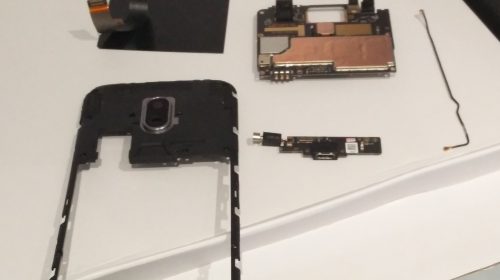
- remove system board my tipping back carefully and disconnecting ribbon cable
- remove speaker
- remove two screws at bottom of phone and remove bottom half of antennae wire
- disconnect connector the bottom of battery bat and remove charge board with vibrator motor
- Peel off black plastic cover and carefully peel off ribbon connector, do not pull to hard or at harsh angle
- Heat frame a lot and use plastic pick to get under glass and frame (second video shows this well)
- Use plastic card to run around edge to pull glass from frame (more heating might be needed)
- Remove glass and clean frame of old glue. Attache tape to new glass at top and bottom (1mm strips on sides)
- Offer glass to frame and poke connects through holes in frame and press together
- Start from step 14 and work backwards now to stop 1 🙂
- Eat Kitkat and drink tea
I used these videos and have added them to help you, all credit to the guys that made them. I used first video up until 3 minutes in and the the second video to deal with glass
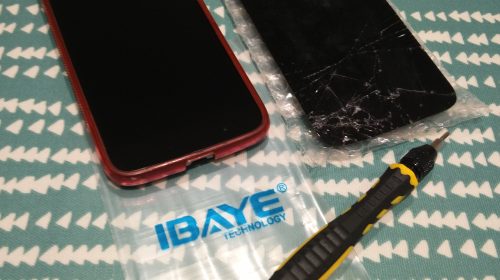
After a cup of tea and a kitkat or two later (about an hour) the screen was replaced and was looking brand new. Its been fitted for 2 months now and there has been no issue so far. Difficulty wise it was medium, if you don’t want the hassle of having to separate the glass from the frame you can buy it already done, this would make the install much less messy and no heating would be needed for about £10 more.