So my wife has a friend at work who is into there phones and like myself has an appreciation for all things imported. He has been having charge problems with his LeEco Le Pro 3, namely the phone would charge but battery drain was very high. After some checking it wasn’t a software issue (battery cycle count etc) so I said it probably needs a new battery. Imagine my surprise when the phone turned up at home to help swap the battery out…..happy days, never done one before and the chance to use a hair dryer to open this phone up sounded fun! Always wanted a LeEco phone but never got the chance.
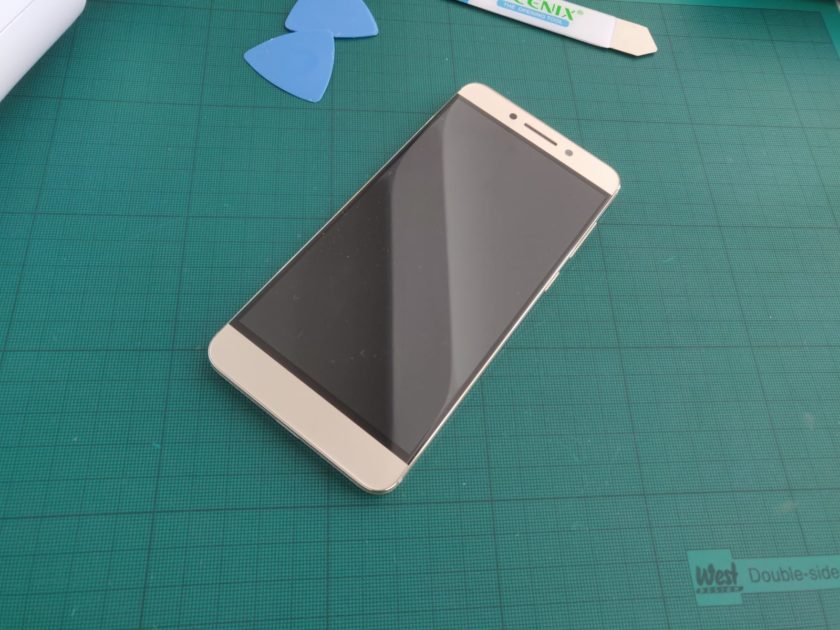
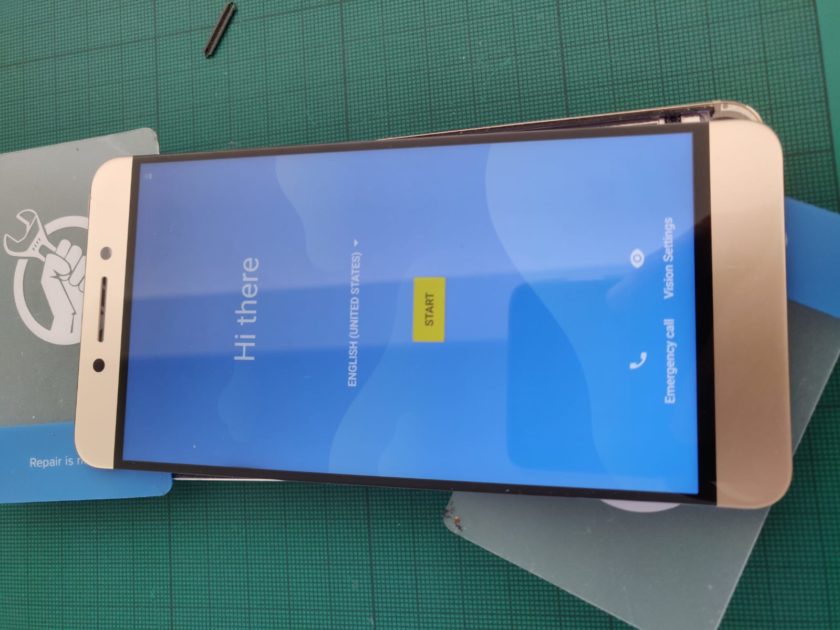
A little about the LeEco Le Pro 3, it comes with a unibody metal design (meaning a glued screen as the only opening is the screen). The Le Pro 3 features a 5.5-inch full HD (1080p) display covered with a 2.5D glass and is powered by Qualcomm’s Snapdragon 821 quad-core processor clocked at 2.35GHz paired with 4GB/6GB of RAM. It comes with 32GB or 64GB of onboard storage options. On the photography a 16-megapixel rear camera and an 8-megapixel selfie camera. Other connectivity options like dual-SIM card slots, 4G LTE support, Wi-Fi, GPS and Bluetooth. As you can see, worth keeping with these specs and for the cheap cost of the replacement battery (about £15).
Steps I followed to open….. *you do so at your own risk, remember phone batteries can burn/explode so take care*
- Run battery down to less than 10% if not all the way to 0% (reduce the chance of burning a hole in your table/floor/hand)
- Remove the SIM card tray
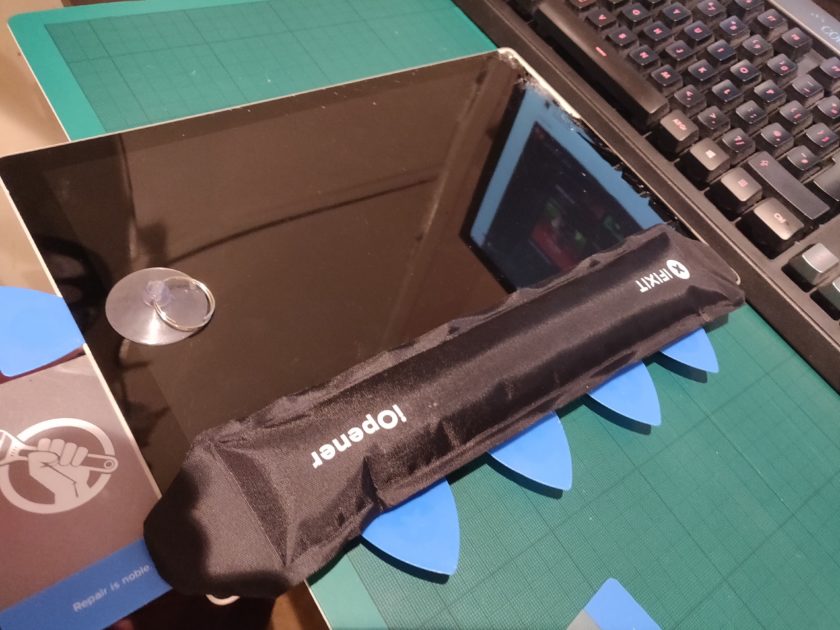
- In order to remove the display assembly, we need to heat up the display edges with a heat gun or in my case a hair dryer 😀 the bulk of glue is top and bottom, attacking the side is best to start with this is where its at its weakest. Also on the side dont slide in plastic pick more that about 2 mm as there is the screen panel and you don’t want to damage that
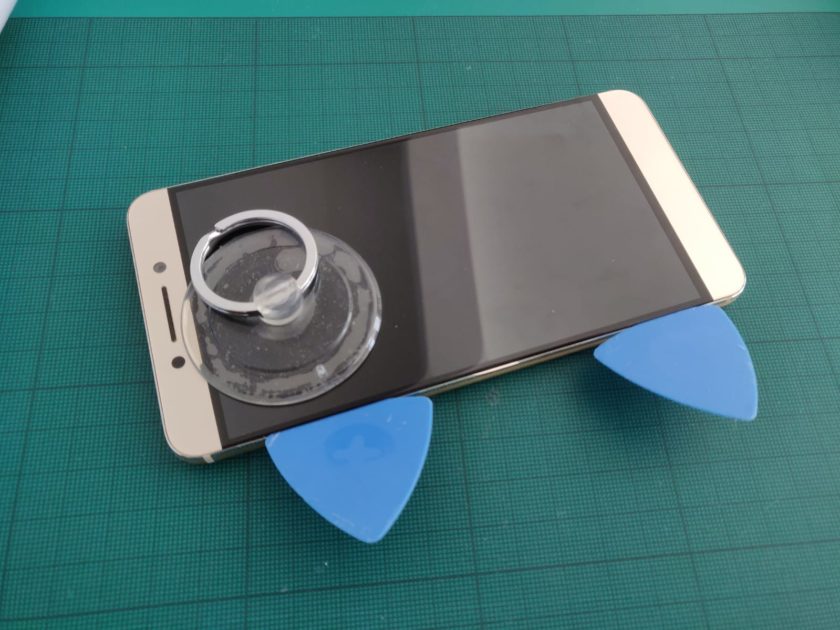
- Open up the display assembly a little bit with a suction cup, at the same time, insert a guitar pick and slide it along the edges to take off the display, use plastic tools as much a possible as mental will scratch the colour from the back of the glass!
- Be careful as the touch/screen cable is still connecting to the motherboard, also the ear speaker gill may fall out at this point, keep it safe and reattach with some tape
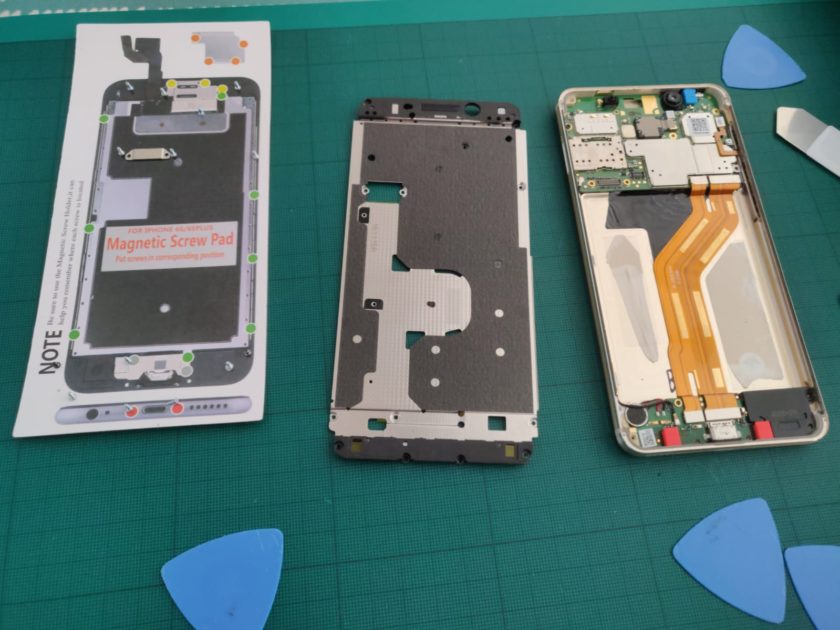
- Remove two screws securing the metal plate. You will be able to disconnect the cable.
- Remove old glue from screen and the phone body, we will be using double sided tape to secure this back in place.
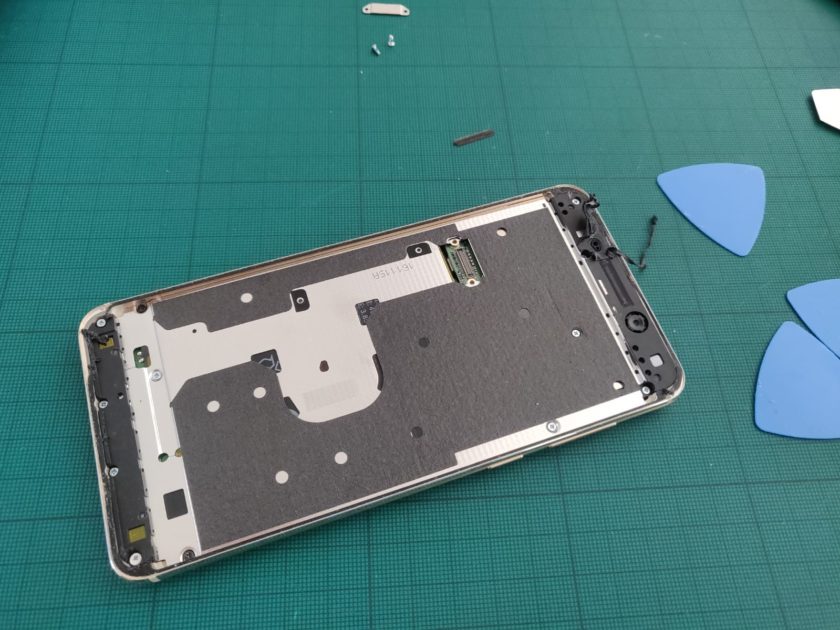
- Under the screen, there is a metal plate, used to isolate the screen and the fuselage, the metal plate covered with a layer of thermal insulation foam
- Remove all screws securing the metal plate (about 10 in total, 2 are different so i use a magnetic mat to place them on to make things easier) , There is a screw in the lower left covered by fragile stickers. If you damage it, you will void the warranty (ok i’ll send it back to china….not) , this unit already had a screw head indent (poss from manufacture? )
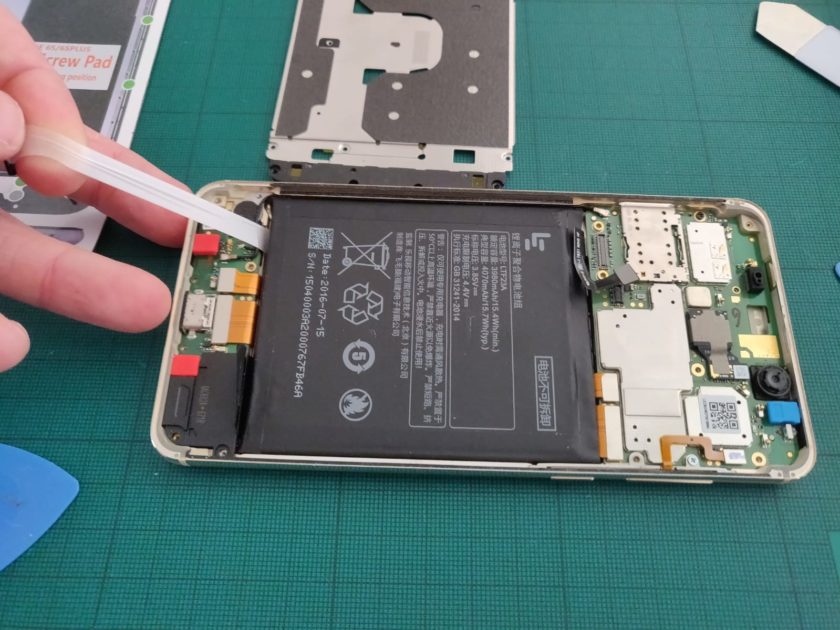
- With the metal plate removed, you can get access to the battery, almost there, keep going.
- Disconnect the battery connector from the motherboard and Pull out two adhesive tapes ….. with any luck you wont have to preform the “pry of shame” 🙂 if you do need to pry it out you should use a plastic pick carefully.
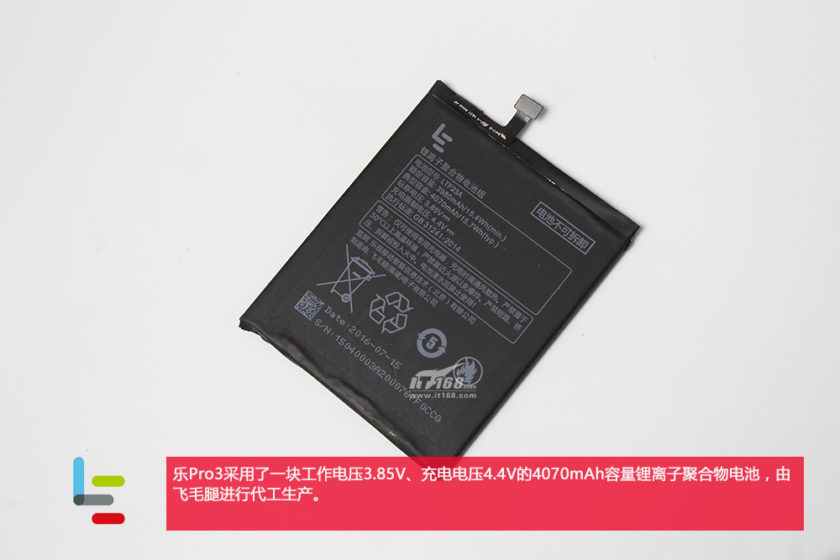
- Insert the 3.85V, 4070mAh Li-polymer battery, stick using a stripe of double sided tape and connect.
- Reverse steps 8 to 1. I like to test the screen works and battery charges before sealing the unit, but for added excitement you can skip this to adrenaline junkie you 🙂

Hope that helps, the whole job took me about 30 mins but leave an hour so your not rushed. Shout if you have any questions or need help with something like this 🙂